
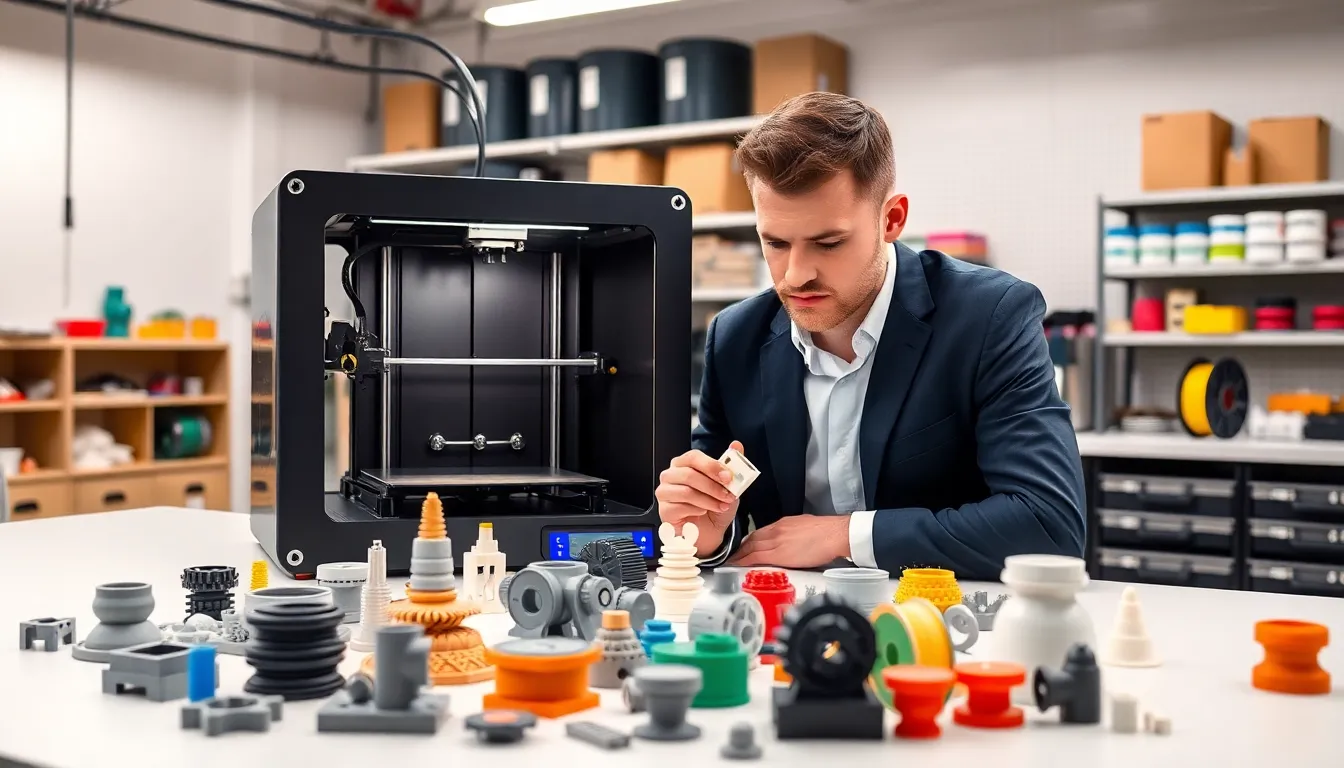
Effective 3D printing strategies separate successful prints from failed ones. Whether someone runs a small workshop or manages industrial production, the right approach saves time, reduces waste, and improves output quality. This guide covers practical methods for material selection, print optimization, design choices, and printer maintenance. Each section offers actionable advice that applies to hobbyists and professionals alike.
Table of Contents
ToggleKey Takeaways
- Effective 3D printing strategies start with matching materials to project requirements—PLA for prototypes, ABS for durability, PETG for versatility, and specialty filaments for specific applications.
- Layer height, print speed, and temperature settings directly impact print quality; use 0.2mm layers and 40-60mm/s speeds as reliable starting points.
- Orient parts with the largest flat surface on the build plate and layer lines parallel to stress directions to maximize strength and adhesion.
- Design for your printer’s limitations by keeping overhangs under 45 degrees and maintaining minimum wall thickness of 0.8mm for a 0.4mm nozzle.
- Regular maintenance—including bed leveling, nozzle cleaning, and belt tensioning—prevents mid-print failures and ensures consistent output.
- Store filament in sealed containers with desiccant to prevent moisture absorption that causes bubbling, stringing, and weak prints.
Choosing the Right Materials for Your Projects
Material selection forms the foundation of any successful 3D printing strategy. Different filaments and resins offer distinct advantages, and matching them to project requirements prevents costly mistakes.
PLA (Polylactic Acid) works well for prototypes, decorative items, and beginner projects. It prints at lower temperatures, produces minimal warping, and comes from renewable sources. But, PLA lacks heat resistance and structural strength for functional parts.
ABS (Acrylonitrile Butadiene Styrene) handles higher temperatures and mechanical stress. Automotive components, electronic housings, and durable tools benefit from ABS properties. The material requires an enclosed printer and heated bed to prevent warping during prints.
PETG combines PLA’s ease of use with ABS’s durability. Food-safe containers, outdoor fixtures, and mechanical parts often use PETG. It resists moisture and chemicals better than both PLA and ABS.
Specialty materials like carbon fiber composites, flexible TPU, and nylon serve specific applications. Carbon fiber adds stiffness for drone frames and brackets. TPU creates phone cases and gaskets that need flexibility. Nylon provides excellent wear resistance for gears and hinges.
Successful 3D printing strategies always start with this question: What will the final part do? Temperature exposure, mechanical loads, and environmental conditions all influence material choice. Testing small samples before committing to large prints saves both time and money.
Optimizing Print Settings for Quality and Speed
Print settings directly affect output quality, production speed, and material usage. Finding the right balance requires understanding how each parameter influences results.
Layer height controls surface smoothness and print time. Thinner layers (0.1mm) produce detailed surfaces but take longer. Thicker layers (0.3mm) speed up prints but show visible stepping. Most 3D printing strategies recommend 0.2mm as a good starting point for general work.
Print speed affects both quality and duration. Faster speeds reduce print time but may cause surface defects, especially on curves and overhangs. Slowing down for outer walls while keeping infill speed high offers a practical compromise. Most printers perform well between 40-60mm/s for detailed work.
Temperature tuning prevents common problems like stringing, poor adhesion, and weak layer bonding. Each material has an optimal temperature range. Running temperature towers helps identify the sweet spot for specific filament brands.
Infill patterns and density balance strength against material usage. Grid and cubic patterns work for most applications. Gyroid infill provides excellent strength-to-weight ratios. Functional parts may need 40-60% infill, while display models often work fine at 10-20%.
Retraction settings reduce stringing and oozing between moves. Direct drive extruders typically need 0.5-2mm retraction distance. Bowden setups require 4-7mm. Testing retraction with calibration prints prevents trial-and-error on actual projects.
Effective 3D printing strategies treat settings as variables to adjust, not fixed values. What works for one material or geometry may fail for another.
Design Considerations for Successful Prints
Good design prevents print failures before they happen. Understanding printer limitations leads to parts that print reliably and perform as intended.
Orientation matters more than many users realize. Placing the largest flat surface on the build plate improves adhesion. Orienting parts so layer lines run parallel to stress directions increases strength. A hook printed vertically snaps easily: the same hook printed horizontally holds weight.
Overhangs and supports require careful planning. Most printers handle overhangs up to 45 degrees without supports. Steeper angles need either support structures or design modifications. Adding chamfers instead of sharp overhangs often eliminates support requirements entirely.
Wall thickness affects both printability and durability. Minimum wall thickness depends on nozzle size, typically 0.8mm for a 0.4mm nozzle. Thicker walls (1.2-2mm) provide better strength for functional parts.
Tolerances for assemblies account for printer accuracy and material shrinkage. A 0.2-0.3mm gap works for most sliding fits. Press fits need even tighter tolerances, often requiring test prints to dial in.
Splitting large prints into smaller sections improves success rates. Joints can use pins, dovetails, or simple flat surfaces with adhesive. This approach also allows different materials or colors in a single assembly.
Smart 3D printing strategies incorporate these design principles from the start. Redesigning a failed print costs more time than planning it correctly upfront.
Maintaining Your Printer for Consistent Performance
Regular maintenance keeps printers running accurately and prevents mid-print failures. A few simple habits extend equipment life and improve output consistency.
Bed leveling should happen regularly, especially after moving the printer or changing build surfaces. An unlevel bed causes adhesion problems on one side while potentially damaging the nozzle on the other. Mesh leveling systems help compensate for slight warping in glass or aluminum beds.
Nozzle cleaning prevents clogs and ensures consistent extrusion. Cold pulls remove partial blockages effectively. Brass brushes clean exterior buildup. Replacing worn nozzles, especially brass ones used with abrasive materials, maintains print quality.
Belt tension affects dimensional accuracy. Loose belts cause layer shifting and ringing artifacts. Belts should feel firm when plucked, producing a low tone. Most printers need belt adjustment every few months of regular use.
Lubrication keeps linear rails and lead screws moving smoothly. Light machine oil works for linear rails. White lithium grease suits lead screws. Avoid over-lubricating, which attracts dust and creates buildup.
Firmware updates often include improvements to motion systems, temperature control, and safety features. Checking manufacturer releases periodically ensures access to the latest 3D printing strategies built into the software.
Filament storage prevents moisture absorption that causes bubbling, stringing, and weak prints. Sealed containers with desiccant keep materials in optimal condition. Some users dry filament before printing for best results.
Consistent maintenance creates consistent prints. Skipping these tasks eventually leads to frustrating troubleshooting sessions.


