
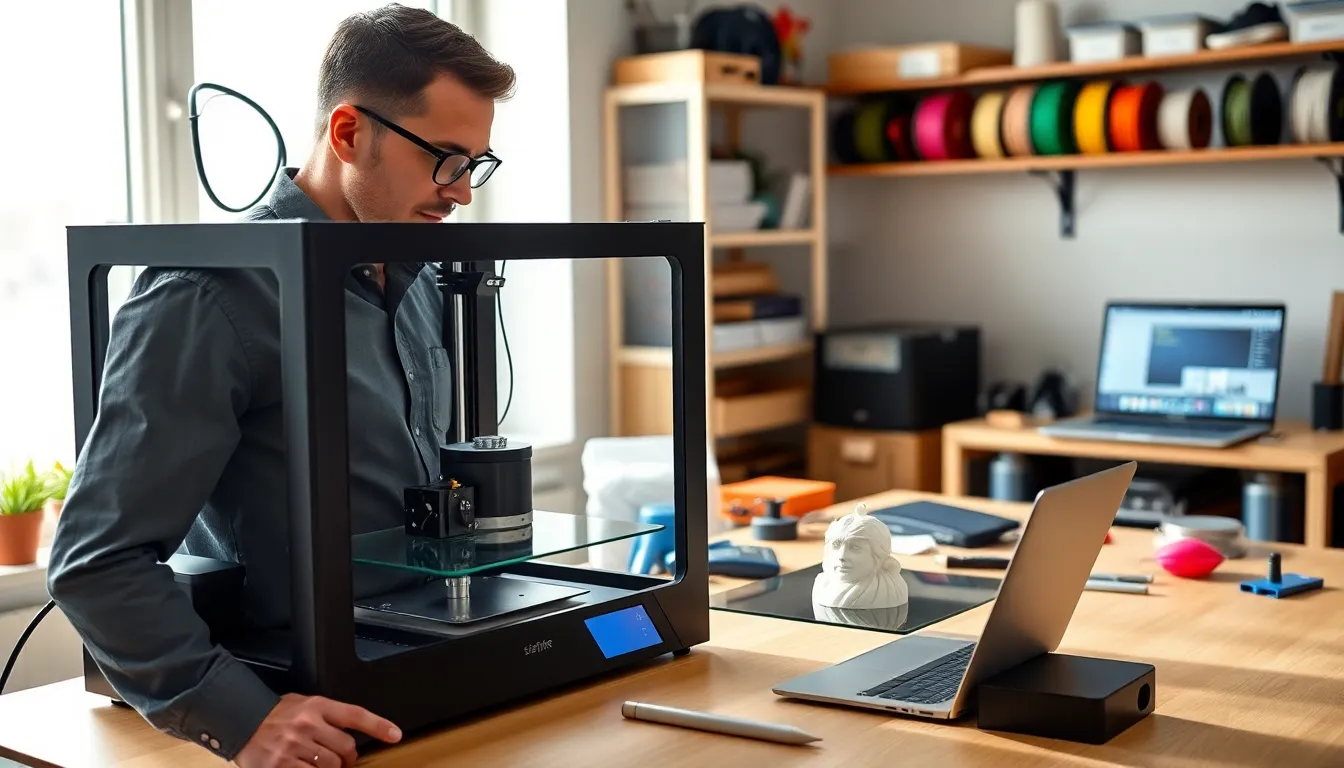
3D printing tips can make the difference between a perfect model and a failed mess of plastic spaghetti. Every hobbyist and professional has experienced that sinking feeling when a print detaches mid-job or comes out warped beyond recognition. The good news? Most 3D printing failures stem from preventable issues. This guide covers the essential 3D printing tips that will improve print quality and reduce frustration. From bed preparation to maintenance routines, these practical strategies help users get consistent results from their machines.
Table of Contents
ToggleKey Takeaways
- Proper bed leveling and adhesion are foundational 3D printing tips that prevent warping and failed prints.
- Temperature settings significantly impact print quality—adjust nozzle and bed temps based on your filament type (PLA, PETG, or ABS).
- Print at 40-60 mm/s for most projects and slow down to 20-30 mm/s for the first layer to ensure proper bed adhesion.
- Layer height should match your project needs: use 0.2mm for general prints, 0.1mm for fine details, and 0.3mm for functional parts.
- Regular maintenance—including nozzle cleaning, belt checks, and lubrication—prevents common 3D printing failures.
- Store filament in sealed containers with desiccant to prevent moisture damage that causes poor print quality.
Prepare Your Print Bed Properly
A well-prepared print bed forms the foundation of successful 3D printing. Without proper adhesion, even the best 3D printing tips won’t save a print from failure.
Level the Bed Before Every Print Session
Bed leveling remains one of the most critical 3D printing tips for beginners and experts alike. An uneven bed causes inconsistent first layers, which leads to warping, poor adhesion, and failed prints. Many printers include auto-leveling features, but manual verification still helps.
The paper test works well for manual leveling. Users slide a sheet of paper between the nozzle and bed at multiple points. The paper should drag slightly but still move freely. Too tight means the nozzle will scrape the bed. Too loose means filament won’t stick.
Choose the Right Bed Surface
Different materials require different bed surfaces. Glass beds offer a smooth finish and work well with PLA when heated to 60°C. PEI sheets provide excellent adhesion for most filaments without additional adhesives. Textured surfaces help PETG and ABS stick during printing but release easily once cooled.
Apply Adhesion Aids When Needed
Some prints benefit from adhesion helpers. A thin layer of glue stick provides extra grip for tricky materials. Hairspray works similarly and cleans off easily. Blue painter’s tape remains a popular choice for PLA on unheated beds.
Clean the bed surface regularly. Oils from fingers reduce adhesion dramatically. Isopropyl alcohol (90% or higher) removes residue effectively.
Dial In Your Temperature Settings
Temperature control ranks among the most impactful 3D printing tips available. Wrong temperatures cause stringing, poor layer adhesion, clogging, and warping.
Set the Right Nozzle Temperature
Each filament type has an optimal temperature range. PLA prints best between 190°C and 220°C. PETG requires higher temps, typically 220°C to 250°C. ABS needs 220°C to 250°C plus an enclosure to prevent cracking.
Start at the manufacturer’s recommended temperature and adjust from there. If layers don’t bond well, increase by 5°C. If stringing appears or the print looks glossy and overheated, decrease by 5°C.
Temperature towers help dial in the perfect setting. These test prints feature multiple sections at different temperatures, making it easy to identify the sweet spot.
Control Bed Temperature
Bed temperature affects first-layer adhesion and warping. PLA works at 50°C to 60°C. PETG prefers 70°C to 80°C. ABS demands 90°C to 110°C.
Allow the bed to reach target temperature before printing starts. Cold spots on the bed can cause uneven adhesion. A thermal camera or infrared thermometer reveals temperature inconsistencies across the surface.
Manage Cooling Fans
Part cooling fans help PLA prints look sharp and detailed. They should run at 100% for PLA after the first few layers. PETG needs less cooling, around 50%. ABS requires minimal fan use because cooling causes layer separation and cracking.
The first layer should print with fans off or at low speed. This allows proper bed adhesion before cooling kicks in.
Optimize Print Speed and Layer Height
Speed and layer height directly affect print quality and duration. These 3D printing tips help users find the right balance.
Find Your Optimal Print Speed
Faster isn’t always better. Most FDM printers produce quality results at 40-60 mm/s for standard prints. Detail-oriented models benefit from slower speeds around 30 mm/s. Simple geometric shapes can handle 80 mm/s or more.
The first layer should always print slower than subsequent layers. A speed of 20-30 mm/s gives filament time to bond with the bed. Outer perimeters also benefit from slower speeds for smoother surface finish.
Watch for signs of printing too fast: layer shifting, poor adhesion between layers, and ringing (ghosting) patterns on surfaces. These issues disappear when speed decreases.
Select Appropriate Layer Height
Layer height determines print resolution and duration. A 0.2mm layer height offers a good balance for most projects. Fine details require 0.1mm or 0.12mm layers. Functional parts that don’t need aesthetics can use 0.3mm layers.
The nozzle diameter limits layer height options. A 0.4mm nozzle works best with layer heights between 0.12mm and 0.28mm. Pushing beyond these limits causes quality problems.
Adjust Acceleration and Jerk Settings
High acceleration causes vibrations that show up as surface artifacts. Lower acceleration values (around 500-1000 mm/s²) reduce ringing on prints. Jerk settings control how abruptly the print head changes direction. Lower jerk values produce cleaner corners but increase print time.
Maintain Your Printer Regularly
Regular maintenance extends printer life and improves print consistency. These 3D printing tips for upkeep prevent common problems.
Clean the Nozzle
Clogged nozzles cause under-extrusion and failed prints. Cold pulls (atomic pulls) remove debris effectively. Heat the nozzle to printing temperature, push filament through, then cool to 90°C and pull the filament out quickly. The debris comes out with the filament.
A brass wire brush cleans the outside of the nozzle. Never use steel brushes on brass nozzles, they scratch the surface and make future clogs more likely.
Lubricate Moving Parts
Linear rails and lead screws need periodic lubrication. A light machine oil works for most linear bearings. Lead screws benefit from white lithium grease or PTFE-based lubricants.
Clean old grease before applying new lubricant. Dust and debris mix with grease to form an abrasive paste that wears components faster.
Check Belts and Fasteners
Loose belts cause layer shifting and dimensional inaccuracy. Belts should feel tight but not overstressed. Pluck them like guitar strings, they should produce a low twang, not a floppy sound.
Vibrations loosen screws over time. Check frame fasteners monthly. Tighten any that have worked loose. Pay special attention to the bed mounting screws and extruder assembly.
Store Filament Correctly
Moisture destroys filament. Hygroscopic materials like nylon and PETG absorb water from the air. Wet filament pops and crackles during printing and produces poor surface quality.
Store filament in sealed containers with desiccant packets. Dry boxes with built-in heaters restore moisture-damaged filament. Vacuum-sealed bags work well for long-term storage.


